Performance
Once setup is done, you’ll find a piece of software ready for you to work with the Cube printer. If you’re using the Cube 3D printer over USB, you won’t need the load-in software, but if you’re relying on Mac or Windows, you will.
Most of our test was with a computer (Windows 8), so we’ll go with the software for our review. When you load this, you’ll find a 3D grid with a camera that can be moved around, simulating how the 3D model should look on the print pad.
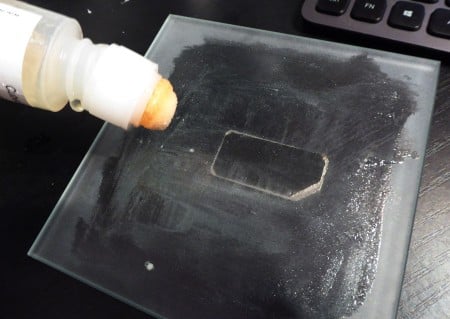
Before you print, you need to put down a layer of thin glue on the glass pad, which will help the melted plastic prints adhere to the surface. Don’t do it, and they’ll adhere, but they also become near impossible to remove without breaking, so this is mostly done for your benefit and ease of use.
Once that’s done, simply load the 3D model into place, and decide on your settings.

Cube’s aforementioned software is similar to a 3D modelling program, only without the modelling. You can resize, rotate, and move the object to where on the small printing pad you think it should be, but that’s pretty much it.
Basically, just make sure that the program you’re using for the 3D model can export to a program the Cube can import, which appears to be STL.
When you’re ready to print, connect to the printer using the settings screen — it disconnects frequently, so make sure you’re connected directly to the printer over WiFi — and then in settings decide what sort of plastic model you want.
There appear to be differences between how the PLA and ABS plastics form on the pad, at least strength-wise, so you need to make sure you’ve nailed that one, and then you can decide on the actual strength.
“Hollow” is the lightest, and will take the least amount of time, followed by “strong” which is sort of a middle ground, and then finally there’s “solid” which takes longer, but makes a totally solid piece of plastic, compared to strong which seems to set up an almost lattice structure inside for strength, but obviously doesn’t fill every gap.
And once you’re ready, you hit “build” to make the file, which will also set up stands and a plastic platform to print to based around the shape and outline of your model. The software will even tell you how long it’ll take to print, which is a rough guide, but relatively close. If you want to speed it up, either change the size of the model, or the strength (hollow, strong, solid).
When you’re ready, hit “print” and select the file you want to print. It doesn’t have to be the file you were just working on, but if you were just working on one, the Cube software will automatically select that.
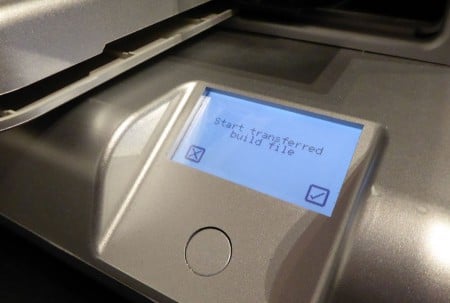
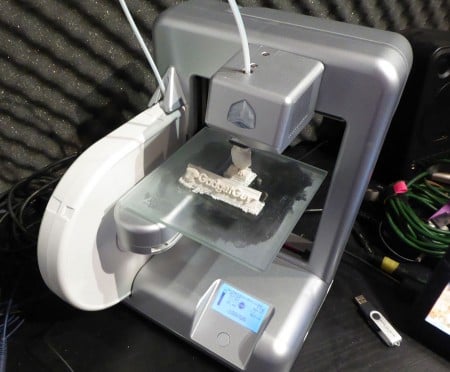
The computer will send the file to the printer, and when it’s loaded, simply hit the check button to begin the process, with the pad lifted to the plastic melting nozzle, and beginning the slow process of printing a physical object.
It’s interesting to watch, because aside for the crazy robotic music it makes — someone will remix this at one point, I can almost guarantee it — it’s like watching something appear out of thin air, and brings to life that whimsical and almost magical feeling we all had when we first saw technology work for the first time.
You can probably go off, have lunch, and come back to find it still working, because depending on the size and strength of the model, the Cube 3D printer can take anywhere between thirty minutes and several hours.


Big regrets buying this product. The appearance of the product gives the impression that it is easy to use, but overall it is not a product ready for market. I spent so many hours replacing parts and jury rigging the machine to justify the investment I made, but to no avail. Had to replace the print head because it would not feed filament. But no better luck using the replacement head in that it is nearly impossible to get plastic to flow. 3DSystems employs a chip to ensure you use their overpriced filament cartridges. But the prongs on the machine are very fragile – meant for cell phone battery not contact with to a big heavy filament cartridge – you are stuck with an unusable printer. I had to take the whole unit apart and start soldering new contacts on to get the unit to recognize the cassette. Finally 3D Systems requires you to use their special Cubestick rather than using a heated platform that all other printers employ. Too much or too little glue won’t work and if the glue dries while you struggle to load the filament, the printed part will move and you end up with a birdsnest of tangled filament instead of a printed part. Buyer beware.