Moving on past the design is the camera performance itself, and here it seems Olympus has literally nailed this camera.
Switching it on is quick, with the camera starting up in half a second, and ready to fire pretty much immediately after.
Two methods of control are available in the E-P5, with a touchscreen on the back that is responsive, and then the button and dial controls populating the body. Most people will end up using a combination of the two, as the menu can be easy to use for those of us familiar with smartphones and tablets, and the buttons and dials seem to result in quicker photography.
Then it’s simply a matter of selecting your mode – iAuto, art, scene, image framing, movie, program (P), aperture (A), shutter speed (S), and manual (M) – and taking shots.
Daylight images are simply lovely here, and regardless of the lens we selected to use with this camera, images turned out sharp, detailed, and quite respectable.
Our selection of glass included the 12mm f/2.0, 17mm f/1.8, and the 45mm f/1.8, and every lens seemed made for this camera, with excellent images coming out with each shot.
At one point, when the dogs were being treated with a bath, we stuck the camera on a high-speed mode, keeping RAW on, and fired off shots as water ran both over their heads and sprayed from as they shook the liquid off.
Each time, the E-P5 quickly fired a burst, providing sharp RAW images from the moments we were so desperately trying to catch.

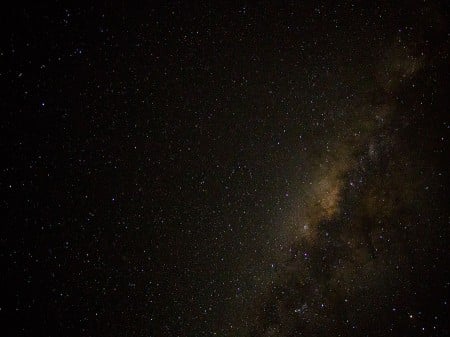
Later on, we decided to see what the noise looked like, and fired some images of the sky, capturing pictures of the Milky Way above from a town in southern NSW.
While there was obviously some dotting and speckles normally associated with low light and high sensitivity settings, it was only over 6400 that it became very noticeable.

Inside the camera, the Olympus 5-axis image stabilisation also seems to help, something we noticed as we held the camera and braced a pole, pulling the shutter speed down to one second and shooting the stars with little to no movement, a result that would normally have been littered with vibrations had this been our DSLR.

Also of note is the art modes, which are now more customisable and can be fired all at once.
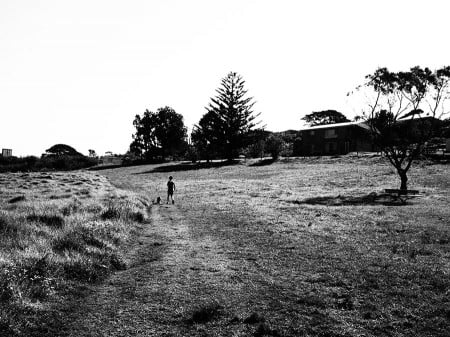
That first part – the customisation – means you can make the black and white mode adopt different colour filters, and provide vignetting or frames for other modes.
We’re big fans of monochromatic photography, and the level of grain, as well as filtration possibilities means that taking photos in this style isn’t just taking a desaturated image, which isn’t really a black and white photo. You also get the original image in RAW if that mode is switched on, meaning you can properly process it later on.
The bracketing is especially cool, as it lets you fire one shot in RAW or JPEG, and then immediately take advantage of every art mode to see what the image would look like interpreted through each of them. Conversely, you can switch off the modes you don’t want to see the images converted through.


